



Rezonans Kontrolü Tüm Harita Kitleri: Her Haritalama Direği ve Sensör Konumu










 PlayStation
 Steam
Steam Xbox
XboxNavigating Control Resonant gets confusing quickly, and it gets worse rather than better as you unlock traversal abilities that make up and down negotiable. Unlocking each zone's map is the single cheapest quality-of-life improvement available, and it should be the first thing you do on arriving anywhere new. Below are all seven Mapping Pylons and all 21 Sensors that switch them on.
Notes: Mapping the New New York Quest Overview
Type | Side Story |
Zones | All seven |
Pylons | Seven, one per zone |
Sensors | Three per pylon |
How to start | Speak to the maintenance worker at the first Mapping Pylon |
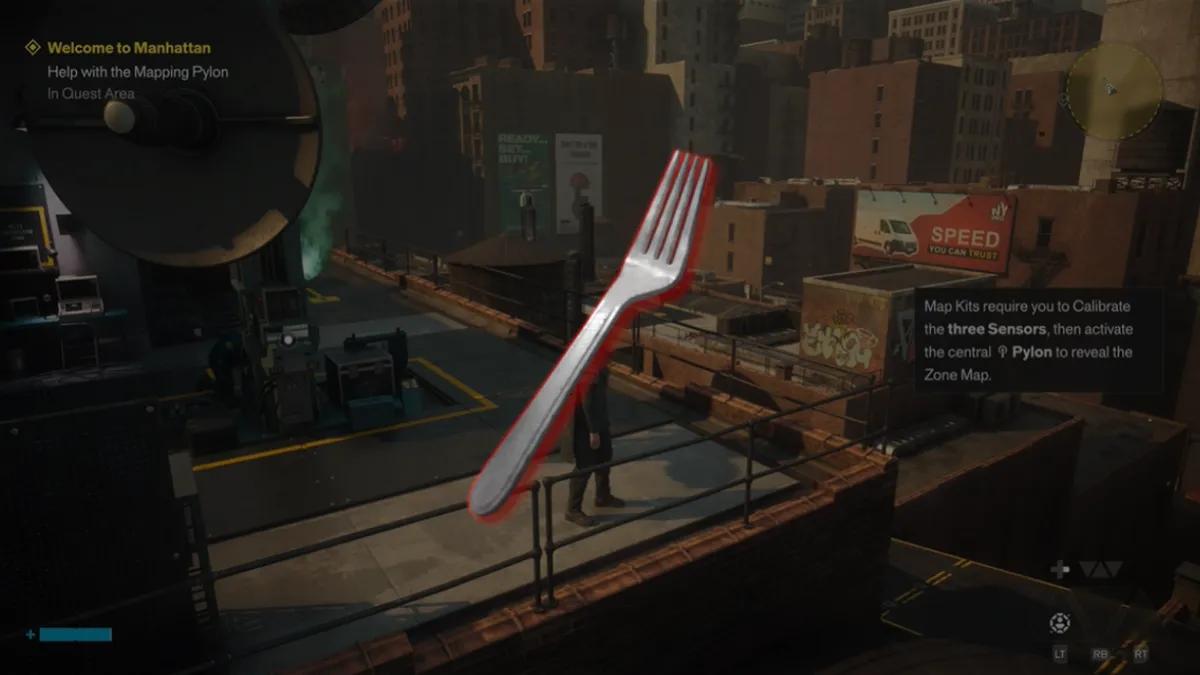
Rewards | Untapped Fork Artifact |
The full campaign order across all three quest chains sits in the Control Resonant Walkthrough Hub. The quest formally begins during Control Resonant Welcome to Manhattan Walkthrough, when the FBC's cartography team asks for help with the Downtown pylon.
How Map Kits Work

Every zone has a Mapping Pylon somewhere near its centre, and three Sensors scattered around it. Activate all three Sensors, then interact with the pylon itself, and the zone map fills in with its points of interest.
A shortcut worth knowing. The dishes on the large central pylon point toward the three smaller Sensors. If you have found the pylon but cannot spot a Sensor, look at where the dishes are aimed.
Most Sensors also blink a red light on a slow cycle, which is easier to catch if you stand still for a few seconds rather than sweeping the rooftops at speed.
Downtown Map Sensor Locations
You unlock these during the early campaign, and all three are straightforward.
Sensor one is slightly north of the main pylon. The Speed You Can Trust sign is on a building a little further north, which confirms you are looking at the right roof.
Sensor two is northeast of the central pylon, near a small rusted water tower. There is a green desk and three stacked spotlights right beside it.
Sensor three is southeast of the central pylon, in a fenced-off basketball court. Your first Fast Travel Door is on the same court, so activate that while you are up there.
Central Map Sensor Locations
The Central pylon sits on top of an orange portable office on the western side of the main plaza, north of the Downtown checkpoint.
Sensor one is a short hop north of the pylon, on top of some blue portable office containers.
Sensor two is northeast of the pylon, near the entrance to the Verconn building, on top of orange portable office containers.
Sensor three is on a lone blue container east of the pylon, next to a stack of large yellow balloons.
Evacuation Zone Sensor Locations

These are more spread out than the first two zones, and the dark, rainy weather makes spotting them harder.
The pylon is on a roof on the south side of Main Street, near the Fast Travel Door. Both are used as the reference point below.
Sensor one is on a roof across the street to the north. It is easy to miss, so watch for the slow-blinking red light rather than the shape.
Sensor two is a short hop east of the pylon and door. Give the light time to blink and it is hard to miss.
Sensor three is southwest, across the southern street, on a rooftop next to a Speed You Can Trust sign. The Sensor is directly beside the sign.
West Incursion Zone Sensor Locations

Work through the zone until you reach the area with the House of Mirrors theater. The pylon is in the centre of the town square near it.
Sensor one is in the southwestern corner of the square, just west of the House of Mirrors, near the Patterned Area sign.
Sensor two is on the eastern street corner near the House of Mirrors, and is visible from the first Sensor.
Sensor three is northeast of the pylon, in the middle of a street that goes vertical. The Atlantis and The Badger stores nearby confirm the location.
The Park Sensor Locations

The Park is the most dangerous of the zones reachable early from Central, thanks to higher-level enemies and the Mold. Unlocking the map is safe enough, and you can be in and out quickly.
Sensor one is a little northwest of the central pylon. If you have the Park Valley Fast Travel Door at the western edge of the zone, head northeast from there.
Sensor two is at ground level north of the pylon, in a mold-filled ditch between a small building and a highrise.
Sensor three is southwest. Jump down off the roof holding the pylon and head that way. The Sensor is on a squat building, just above some graffiti on the outer wall.
The Underpass Sensor Locations

You need to be well into the story before the Underpass opens, and the map here is not as simple to unlock as elsewhere.
Your first job is to reach the massive white-lit spire southwest of where you enter the zone.
Once you are at the spire, activate the Fast Travel Door there and look out over the southeastern ledge. From that platform you can see the Mapping Pylon and all three Sensors at once, along with the powerful Hiss wandering the area below. Clear them before you start climbing.
All three Sensors sit on top of the north, east and south columns surrounding the pylon. With the Hiss dealt with, reaching them is simple.
The Unknown Zone Sensor Locations

The Unknown ignores which way is down, and navigating it means standing on ceilings and walking up walls. It also needs setup work before the pylon is even reachable.
Place the probes
Go to the supply balloon Pope left in the starting area near the elevator. Let the box down and attack it to open it.
Pick up one of the probes and carry it to the rough red circle on the ground nearby. Remember what those circles look like, because they recur throughout the Unknown.
Place the second probe at the opposite end of the starting area, again in a red circle. That spawns a platform you can get to with Reach.
Once you are standing on the platform, jump off it, downward, toward the nexus of buildings far below. About midway down you should spot the Mapping Pylon. For the directions below, down means the level where you can stand beside the pylon.
The three Sensors
Sensor one. Look out toward the red brick building with the Yo graffiti on it. Jump across to that building and keep right. The Sensor is on a roof not far away.
Sensor two hangs from a roof above the pylon. Use Reach on a nearby rooftop to swap which way is up, then look across the street toward the white brick building with graffiti on its walls. A red Bus Only sign on the street below you confirms the orientation is correct.
Sensor three is on the same plane as the pylon. You can see the top of the Oldest House from it. Otherwise look for bright white floodlights and a deflated yellow balloon, since the Sensor is near both.
Notes: Mapping the New New York Rewards

Finding and activating all seven Map Kits completes the quest and awards the Untapped Fork Artifact.
Like the rest of the Untapped line, it has to be activated and equipped before it does anything, and the full description is worth reading in case it carries a drawback alongside its buff.
The real payoff is the maps themselves. Several side stories in Control Resonant are navigation problems rather than combat or puzzle problems, and they collapse in difficulty once the points of interest are filled in.
Common Mistakes
Leaving a zone before unlocking its map. Every zone you enter should start with the pylon. Coming back to do it later means crossing hostile ground twice.
Sweeping rooftops at full speed. Most Sensors announce themselves with a slow red blink. Standing still for a few seconds is more reliable than running past.
Ignoring the dishes on the pylon. They point at the Sensors. It is the built-in hint and almost nobody uses it.
Climbing in the Underpass before clearing the Hiss. The spire platform gives you a clear view of everything, including the enemies. Fighting them from a column is considerably worse.
Looking for the Unknown pylon before placing both probes. Neither the platform nor the route below it exists until both are in their circles.
What to Do Next
With every map unlocked, the two collection chains become far more manageable. Control Resonant Unsupervised Science Walkthrough covers six underground testing facilities whose markers are useless without the surrounding map, and Control Resonant Notes: Every Dog Has Her Day Walkthrough spans all seven zones.
Control Resonant Freeze Frame Walkthrough benefits most of all, since the entire quest works by matching photographs to landmarks you can only identify on a filled-in map.


 Başarıyla kopyalandı... İçeriğimizi paylaştığınız için teşekkür ederiz!:



100 mücevhere kadar %5 para yatırma bonusu

Para yatırma ve çekme işlemlerinde %0 ücret.





11 Para Yatırma Bonusu + FreeSpin


EKSTRA %10 PARA YATIRMA BONUSU + ÜCRETSIZ 2 ÇARK DÖNDÜRME

Ücretsiz Kasa ve %100 Hoş Geldin Bonusu


5 Ücretsiz Kılıf, Günlük Ücretsiz ve Bonus

3 ücretsiz kasa ve tüm nakit para yatırma işlemlerine %5 bonus eklenir.

Depozitoya +%5




Yorum