




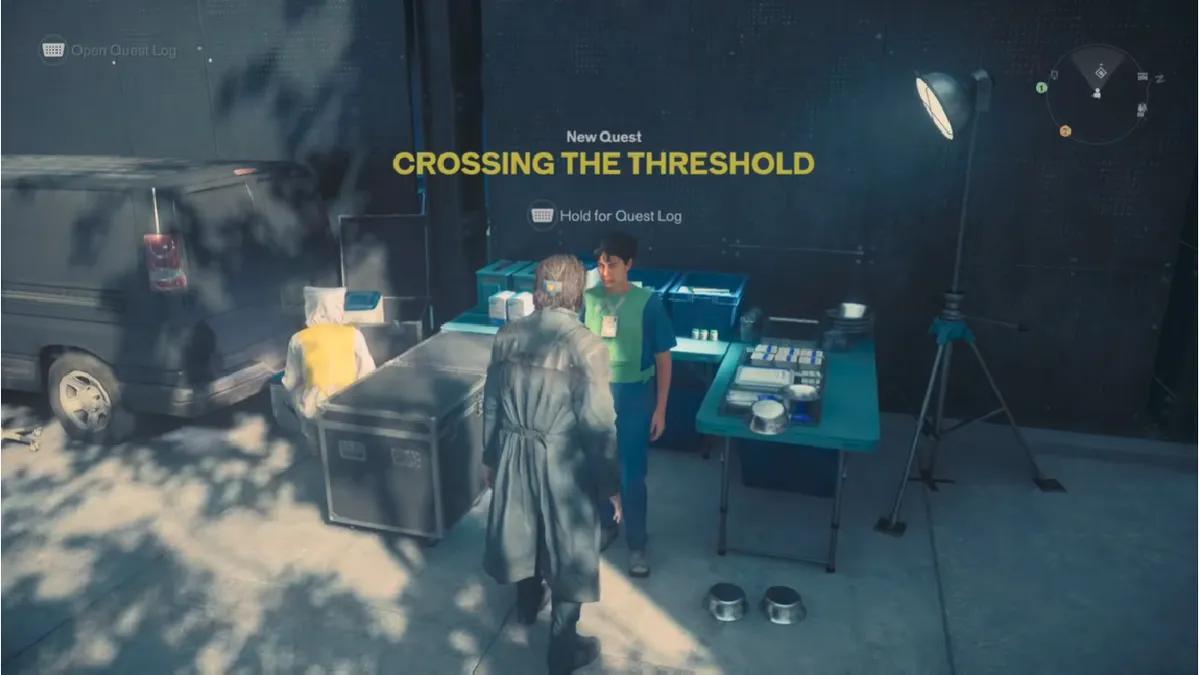
Control Resonant Crossing the Threshold Oyun İçi Çözüm: Tüm İpuçları ve İki Son










 Steam
Steam Xbox
Xbox PlayStation
Crossing the Threshold is the most involved side story available early in Control Resonant, and one of the few where what you do changes how it ends. It starts with a headless corpse in a Central alley and turns into an investigation with two separate evidence trails, a mini-boss, and a conversation you can fail. Skipping the legwork does not lock you out of the quest, but it does lock you out of the better outcome.
Crossing the Threshold Quest Overview
Type | Side Story |
Zone | Central |
Requirement | Level 1 Keycard |
How to start | Report a headless FBC agent west of the Field Office |
Mini-boss | Linus, Hiss Pursuer Apex |
Rewards | Practical Knot Artifact recipe, Sensory Restraint Hood cosmetic |
The full campaign order across all three quest chains sits in the Control Resonant Walkthrough Hub. You will need the Level 1 Keycard from Control Resonant Welcome to Manhattan Walkthrough before one of the evidence stops will open.
All Crossing the Threshold Steps
The quest runs two evidence trails before it lets you confront anyone, and both have to be finished.
- Report the headless agent in the alley west of the Field Office
- Investigate the dig site and take the keycard from the second body
- Unlock the TE lab and listen to the audio recording
- Return to the loading docks for the CCTV lead
- Report the autopsy body at the Field Hospital and find the cabinet locked
- Pull the cabinet code and watch the CCTV footage at the Security Station
- Read the quarantine report back at the Field Hospital
- Clear the warehouse, including Linus
- Talk Wilson down and return AVP-3 to the Threshold
How to Start Crossing the Threshold

Head west from the Field Office in Central. About a block away, look for a side alley with an open garage door and a body inside that is missing its head.
Approach and interact with the corpse to call Zoe, then report the headless FBC agent. That report is what puts Crossing the Threshold in your Quest Log, so simply finding the body is not enough.
Investigate the Dig Site Threshold

Zoe asks you to look into where the dead agent's team was working. Follow the marker on your map.
At the dig site you will find a second body lying near an exposed Threshold, which washes your entire screen yellow whenever you step into it. Remember that yellow square, because you come back to it at the very end of the quest.
Approach the body, report it to Zoe, and take the keycard off her corpse. The desks nearby hold documents and audio recordings, and there is an employee ID in the bloody lab coat on the ground next to the body.
None of that supporting material is required to finish the quest, but this is a side story where reading pays off directly. The conversation at the end offers different lines depending on what you have seen, and the version of events you can put to Wilson is built out of these pieces rather than handed to you by Zoe.
With the keycard, climb up to the elevated yellow lab marked TE above the door. Let yourself in, grab the documents inside, and pick up the audio recording.
When that recording finishes, Zoe gives you two more places to check: the Field Hospital and the alley where you started. The order does not matter, but both have to be done.
Investigate the Loading Docks

Start with the loading docks so you are not walking back across Central later.
Interact with the original body a second time. This turns up the detail that a CCTV camera caught the incident. Zoe cannot pull the footage remotely, which means it has to be viewed from a terminal.

This step is the one most people skip, because the alley looks finished once the quest has moved on from it. Returning to a body you already reported feels redundant, and the game does not go out of its way to tell you otherwise. The CCTV lead exists only here.
Investigate the Field Hospital

Return to the Field Office grounds and look for two blue containers stacked on top of each other, with a staircase running up to the second. The door needs Level 1 access.
Inside, head to the back corner, where another headless body is laid out on an autopsy table. Report it to Zoe, then interact with the locked cabinet to the left of the glass.
Call Zoe about the code. She tells you it was recently reset, which sends you to the Security Station to look it up.
Find the Cabinet Code and the CCTV Footage

The Security Station is directly across from the Field Hospital: three yellow shipping containers stacked into a small tower.
Go up to the third floor and turn right as you come through the door. Two computers sit on a desk. Interact with the nearer one and scroll through the screens until you reach an image of the medical cabinet, which gives you the code.
Do not leave yet. The CCTV footage is also on this floor. Interact with one of the computers along the wall instead, select Next Screen, then Interact to play the loading dock recording. It is short, and it shows the FBC agent dying.
With both pieces in hand, return to the Field Hospital, unlock the medical cabinet, and read the quarantine report.
That completes the evidence trail. You now have everything you need to talk Wilson down.
Find Wilson at the Warehouse

Wilson is hiding in a warehouse in the northern part of Central. If you have not been up there before, the route runs through a short mandatory combat section where you get sealed in an office with several Hiss.
Once you are out on the street, you will find Hiss fighting FBC agents. These are skippable, though clearing them is rarely a waste given how much Build Power affects everything in this game.

The warehouse fight ahead is a step up from the open-world groups you have been handling in Central, and arriving at it with a few extra levels of Zone progress behind you makes a noticeable difference. If a Resonant Entity has been sitting undefeated on your map, this is a reasonable moment to go and take the Combat Ability it is holding.
Inside the warehouse, the Hiss have taken over and you have to clear all of them, including a named enemy.
How to beat Linus

Deal with the Riveters first. Before engaging Linus, climb to the highest floor of the warehouse and take out the three flying Hiss Riveters. They cause more trouble than anything else if you leave them alive while fighting on the ground. They stagger easily, so build their Falter and execute rather than grinding their health down.
Linus is a Hiss Pursuer Apex. He specialises in close quarters and his attacks can set Dylan on fire, so the burn meter on your HUD is the thing to watch.
His spin attack is the one to respect. It does heavy damage and ignites you quickly, and there is no good way to trade through it. Stay clear until it finishes, at which point you get a generous opening. If your primary Aberrant form attacks fast enough, Linus can be stun locked outright from that opening.
When the warehouse is clear, interact with the door to find Wilson and another FBC agent inside.
Spoiler warning. The rest of this walkthrough covers what Wilson is protecting, the dialogue that decides the outcome, and both endings. Stop here if you would rather work the conversation out yourself.
Talk to Wilson: The Correct Dialogue Choices

Your replies here decide the ending. Approach Wilson and pick these options in the order they appear:
- What did you do to him?
- I saw something on the CCTV...
- Calm down, I believe you.
- I'll take him.
Following that chain gets you the full explanation. The entity, designated AVP-3, is an infant trying to get home. It needs a host to survive and jumps to a new one whenever its current host is about to die, which is why bodies have been turning up without heads. Nothing about it is malicious. Dylan volunteers to carry it back to the Threshold himself.
Interact with the FBC man in the gas mask on the floor to coax AVP-3 out.
The other ending
If you antagonise Wilson during the exchange rather than following the chain above, he leaves. The quest does not fail, but it resolves differently: you find his headless corpse waiting at the Threshold, and that is where it ends.
The good outcome depends on having done the legwork. The CCTV line only becomes available because you watched the footage, which is why the Security Station detour matters more than it looks.
Take AVP-3 to the Dig Site Threshold

With AVP-3 in hand, travel back to the dig site on the southwestern side of Central.
Step into the large yellow square on the floor to send AVP-3 home. That completes the quest.
Crossing the Threshold Rewards

The quest pays out the Practical Knot Artifact recipe and the Sensory Restraint Hood cosmetic.
Practical Knot adds 15% extra Falter to all of your attacks against Heavy-tier units. That is a considerably better bonus than it sounds, because Falter is what enables Executions, and Executions on a Heavy are both a large damage saving and the trigger for Dominance. Anything that gets you to an Execution faster compounds across every fight in the game.
As with other Untapped-line items, the recipe has to be crafted at the Artifact Formation before you can equip it.
Common Mistakes
Finding the body without reporting it. Interacting is not enough. The radio report to Zoe is what starts the quest.
Skipping the CCTV terminal. It is on the same floor as the cabinet code, so it costs nothing while you are there, and without it the conversation with Wilson goes worse.
Fighting Linus with the Riveters alive. Three flying enemies plus an Apex melee unit in a confined warehouse is a considerably harder fight than the same Apex alone.
Trading hits through the spin. Wait it out. The opening afterward is long enough to do real damage.
Leaving the Practical Knot recipe uncrafted. The reward does nothing until it is made and equipped.
What to Do Next
Crossing the Threshold sits on the route to Control Resonant Evacuation Procedures Walkthrough, so it fits neatly into the early campaign rather than being a detour.
For more in the same region, Control Resonant Panopticon Service Request Walkthrough is a short puzzle quest a few steps from the Field Office, and Control Resonant The Last Taxi Walkthrough has a Threshold of its own in northwestern Central.


 Başarıyla kopyalandı... İçeriğimizi paylaştığınız için teşekkür ederiz!:



100 mücevhere kadar %5 para yatırma bonusu

Para yatırma ve çekme işlemlerinde %0 ücret.





11 Para Yatırma Bonusu + FreeSpin


EKSTRA %10 PARA YATIRMA BONUSU + ÜCRETSIZ 2 ÇARK DÖNDÜRME

Ücretsiz Kasa ve %100 Hoş Geldin Bonusu


5 Ücretsiz Kılıf, Günlük Ücretsiz ve Bonus

3 ücretsiz kasa ve tüm nakit para yatırma işlemlerine %5 bonus eklenir.

Depozitoya +%5




Yorum