




Mortal Shell 2'de Tarforge: Eşyaları, Malzemeleri ve Yükseltme Sırasını Açma










 Steam
Steam Xbox
Xbox PlayStation
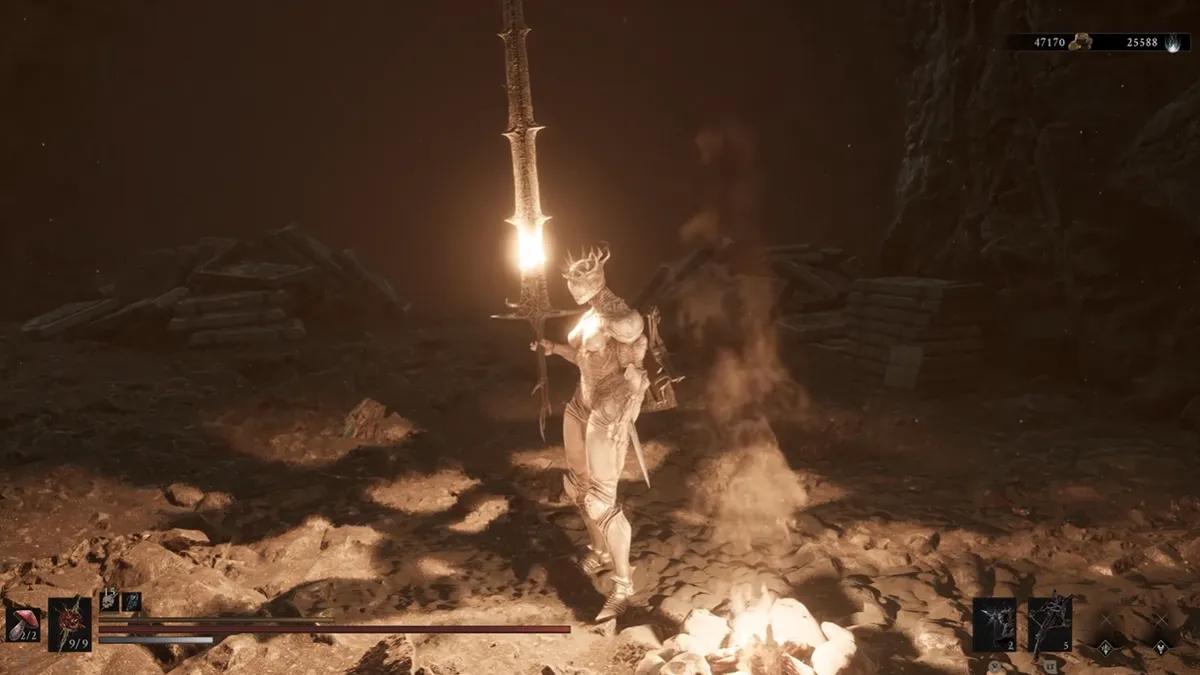
The Tarforge stands in Marrow Keep and controls every weapon, sidearm, and Tarstone upgrade in the game. Walk up to it early and almost nothing works. Switching each function on means carrying specific items to Franz, the smith who tends the machine, and the first of those items is already sitting on your route through the prologue. This guide covers every Tarforge unlock item in Mortal Shell 2, where each one hides, what it turns on, and the order worth spending materials in.
The Tarforge Unlock Checklist
Four core functions and one optional cap-lift hang on five separate items, and the game marks none of them. Whatever you decide to sink materials into, All Weapons in Mortal Shell 2: Tier List and Where to Find Each One is worth reading first, since upgrading something you abandon three hours later is the most common way to waste Ventrium.
Item | Where to Find It | What It Unlocks |
|---|---|---|
Muradean Actuator | Village Outskirts, in the cleanse dungeon during the prologue | Enhance Melee Weapons |
Obsidian Lathe | Martyr's Tomb, south of Widow's Overlook in Fainweald, beside Tiel's grave | Enhance Sidearms |
Etching Needles | Chest in the Glutted Mire, southeast Fainweald, shortly before Magdalena | Temper Tarstones |
Foundry Stone | Chest by the gateway at the Outskirts of Mammon beacon | Smelt Equipment |
Endless Core (optional) | Cleanse dungeon at the Hidden Nave beacon, deep in The Unfound Path | Removes the +20 upgrade cap |
The first four go directly to Franz. The Endless Core is different: it never passes through him and installs through the Tarforge's own menu instead.
How the Tarforge Works

Hand an unlock item to Franz in the Tarforge chamber and he fits it into the machine immediately. The matching menu then appears on the opposite side of the station, whichever one you just paid for: weapons, sidearms, smelting, or Tarstones.
Weapon and sidearm levels cost coins plus smithing stones, with Ventrium, Laterite, Dorsalite, Thoracium, and Ossinite covering the different bands. Smelting reverses the process completely, dropping a weapon or sidearm to its base level while returning every material you fed it. Nothing is lost, so trying a build costs you time rather than resources. Sidearms sit on their own bench, and All Sidearms in Mortal Shell 2: Tier List, Locations and Best Tarstones covers which of the eight actually deserve those materials.
Tarstones run on something else entirely. They gain experience only while slotted into an equipped weapon or sidearm, filled by kills rather than by anything you do at a menu. The first threshold sits at 10,000 XP and costs a flat 100 coins to clear, and it also hands you a Tarcore. The second threshold at 20,000 XP takes no coins at all and demands six Tarcores instead. That structure quietly pushes you into levelling several Tarstones partway, including ones you have no intention of using, purely to bank Tarcores for the stone you actually want maxed.
Can You Just Kill Franz?

Yes, and it is the fastest route to a fully working Tarforge. Attack him in Marrow Keep and all four main functions open at once: Enhance Weapons, Enhance Sidearms, Temper Tarstones, and Smelt Equipment. The entire item hunt collapses into a single decision. He is not the only NPC in the keep who rewards a different kind of attention, and All Shells in Mortal Shell 2: Where to Find Them, Unlocks and Best Picks covers the two whose questlines hand over a body rather than a menu.
The four collectibles keep their value afterwards. Carry the Muradean Actuator, Obsidian Lathe, Etching Needles, and Foundry Stone to the now-unmanned forge and each converts into raw materials instead: 7 Ventrium, 4 Laterite, and 3 Dorsalite apiece. That is a real head start on the grind rather than a consolation prize.
Everything functions the same with Franz dead. No menu breaks, no function locks. One cost is worth weighing: upgrades run more expensive afterwards, partly offset by the material refund that smelting provides. The choice is permanent, with no way to bring him back, so anyone who wants his dialogue or his questline should keep their weapon sheathed. The Endless Core stays outside the shortcut regardless, still buried in The Unfound Path and still installed by hand.
Where To Find Every Unlock Item
Four of the five sit on or near a path you were walking anyway. The fifth is buried behind the endgame gauntlet, so treat that section as a spoiler and check All Bosses in Mortal Shell 2: Locations, Order and Full Checklist for what stands between you and it.
Muradean Actuator

This one practically falls into your inventory. It sits inside the cleanse dungeon at the Village Outskirts beacon, the first beacon of the prologue, and cleansing that beacon is mandatory to advance the story. The chest holding it is on the critical path, so finishing the prologue without walking past it is not possible. Fast travel makes returning trivial if you somehow left it behind.
Obsidian Lathe

Head into Fainweald and find the Widow's Overlook beacon. Martyr's Tomb sits due south of it, immediately beside the grave that unlocks the Tiel shell, so anyone who already went looking for Tiel has probably seen the entrance without going in.
Clear the dungeon and the Lathe waits in a chest alongside a Tarstone. One quirk catches people: the room seals behind you. Shoot the device mounted above the gate with your sidearm and it opens again. Grabbing the Shell and the unlock item in the same loop is the most efficient trip in Fainweald.
Etching Needles

This takes the longest walk of the four. Start at the Sunken Village beacon in the Glutted Mire, the Corrupted Gate dungeon in southeastern Fainweald, and cross the rope bridge ahead. The Wandering Shepherd blocks the way with a herd he turns hostile mid-fight, and he becomes the Tarblighted Shepherd once his health drops below half.
With him down, squeeze through the gap in the wooden boards. Ruk perches just past it, warning you about the fight ahead, and the chest holding the Etching Needles sits directly behind him. Magdalena is a short walk further on, so clear this chest before you commit to her.
Foundry Stone

Fast travel to the Outskirts of Mammon beacon, which unlocks from the start of the game, making this available whenever you feel like it. From the beacon, look toward the blasted ground near the gateway.
A dozen soldiers and elite knights patrol the approach, and none of them need to die. Run past them to the wall fortifications on the far side and open the chest holding the Foundry Stone, then leave. I would grab this one earlier than most guides suggest, because smelting turns every bad upgrade decision into a temporary one.
Endless Core

The Endless Core only appears near the end of the campaign. Unlock The Unfound Path, clear out the corrupted tendrils, and the Hidden Nave beacon opens in the middle of the zone just before the final fight.
Inside, you meet a bonfire. Run to the far side of the tunnel until a second bonfire appears, then walk back to the first, where a torch has now spawned. Carry it through the fog and an entirely different area reveals itself. Follow the sloping path to the bottom and the chest there holds the Core. Several gloom chests sit nearby, but interact with the doorway first and offer everything you are carrying, since doing it in that order lets you loot the rest without losing anything.
Upgrade Materials and Where To Farm Them
Weapon and sidearm levels run through five smithing stones, each tied to a band of levels, with Coin sitting alongside every one of them.
Material | Upgrade Levels | Where to Farm |
|---|---|---|
Ventrium | +1 to +5 | The common stone: chests, side rooms, and most secret areas from the opening hours |
Laterite | +6 to +10 | Mostly a Night Mode find |
Dorsalite | +11 to +15 | Mostly a Night Mode find |
Thoracium | +16 to +20 | Bought from The Collector for 5,000 Coin, night only |
Ossinite | +21 to +25 | Withered Shoals, near the Ossinite Falls beacon |
Coin has no dedicated farm. It accumulates through kills and exploration across the whole run, which means the bottleneck is almost always stones rather than currency once you reach the middle bands.
What To Upgrade First
Weapons take the first investment, and the timing decides it for you. The Muradean Actuator arrives during the prologue, so the Enhance Weapons bench opens before any other system, and Ventrium is the easiest material in the game to trip over. Pushing a primary weapon to +3 or +4 costs almost nothing and carries you through the harder stretches of Fainweald while everything else is still catching up.
Sidearms come second and only justify a rush if your build leans ranged. Otherwise the Obsidian Lathe can sit unused until a sidearm you actually intend to keep turns up. Feeding materials into something you replace four hours later is the same error as committing to a Tarstone whose effect you have not tested.
Tarstones invert the usual advice, because their cost is kill experience rather than materials. Run several low-value stones to the first threshold purely to bank Tarcores, since that level costs only 100 coins each. Hold the stockpile for whatever is going into the final build, because the second threshold burns six Tarcores in one action and refunds nothing if you later swap the stone out.
Smelting is worth switching on earlier than it feels necessary. Once the Foundry Stone is installed, or once Franz is gone and it unlocks for free, a bad early investment stops being permanent. That safety net changes how willing you should be to experiment in the first place, which matters more in a game where the weapon you love at hour three is rarely the one you finish with.


 Başarıyla kopyalandı... İçeriğimizi paylaştığınız için teşekkür ederiz!:



100 mücevhere kadar %5 para yatırma bonusu

Para yatırma ve çekme işlemlerinde %0 ücret.





11 Para Yatırma Bonusu + FreeSpin


EKSTRA %10 PARA YATIRMA BONUSU + ÜCRETSIZ 2 ÇARK DÖNDÜRME

Ücretsiz Kasa ve %100 Hoş Geldin Bonusu


5 Ücretsiz Kılıf, Günlük Ücretsiz ve Bonus

3 ücretsiz kasa ve tüm nakit para yatırma işlemlerine %5 bonus eklenir.

Depozitoya +%5




Yorum