




Rezonans Kontrol Bakım Protokolü Adım Adım Kılavuzu: Üç Ampulün Tamamı










 PlayStation
 Xbox
Xbox Steam
SteamMaintenance Protocol starts as an alarm call in the deepest part of the Underpass and turns into maintenance work on three light bulbs, each of which has developed a personality and a problem. Every bulb is settled the same way, by twisting it three times, but none of them will let you near until you deal with what is bothering it. The quest also has one of the stranger finales in Control Resonant.
Maintenance Protocol Quest Overview
Type | Side Story |
Zone | Underpass |
Requirement | Complete The Hedron Link |
How to start | Zoe's briefing at the Watchtower |
Objective | Investigate the Oldest House Alarm |
Rewards | Standard Issue Coverall outfit |
The full campaign order across all three quest chains sits in the Control Resonant Walkthrough Hub. This is late-game content, so the Underpass and its fast-travel network should already be open to you.
How to Start Maintenance Protocol

The quest becomes available after The Hedron Link, when you meet Zoe at the Watchtower. That conversation puts both this and Control Resonant New Growth Walkthrough into the Quest Log at the same time.
Track the entry and the objective updates to Investigate the Oldest House Alarm. The marker points at Underpass 5, so use a fast-travel booth and select Deepest Underpass to get close.
Underpass 5 is a long way down even by the standards of this zone, and there is no shortcut that skips the descent. If you have not activated the Deepest Underpass booth on a previous trip, expect the approach itself to take longer than any individual bulb.
Reach the Old Oldest House Door

From the fast-travel point, descend through Underpass 5, working across the platforms, pipes and ledges until you reach a set of sealed security doors labelled Door to 'old' Oldest House.
Use the intercom next to the door. Zoe reads an old manual to you over the radio and tells you to input the Morse code for the word in.
That is dot, dot, dash: two short hums followed by one long one.
Enter it and the door unlocks. Push through the mold-infested corridors on the other side and climb up into the projector briefing room.
Watch the Briefing and Find the Bulbs

The projector plays a film reel starring an animated FBC maintenance worker. The gist is that loose light bulbs are destabilising the facility and have to be settled by twisting them three times in their sockets. The film summarises this as righty-tighty.
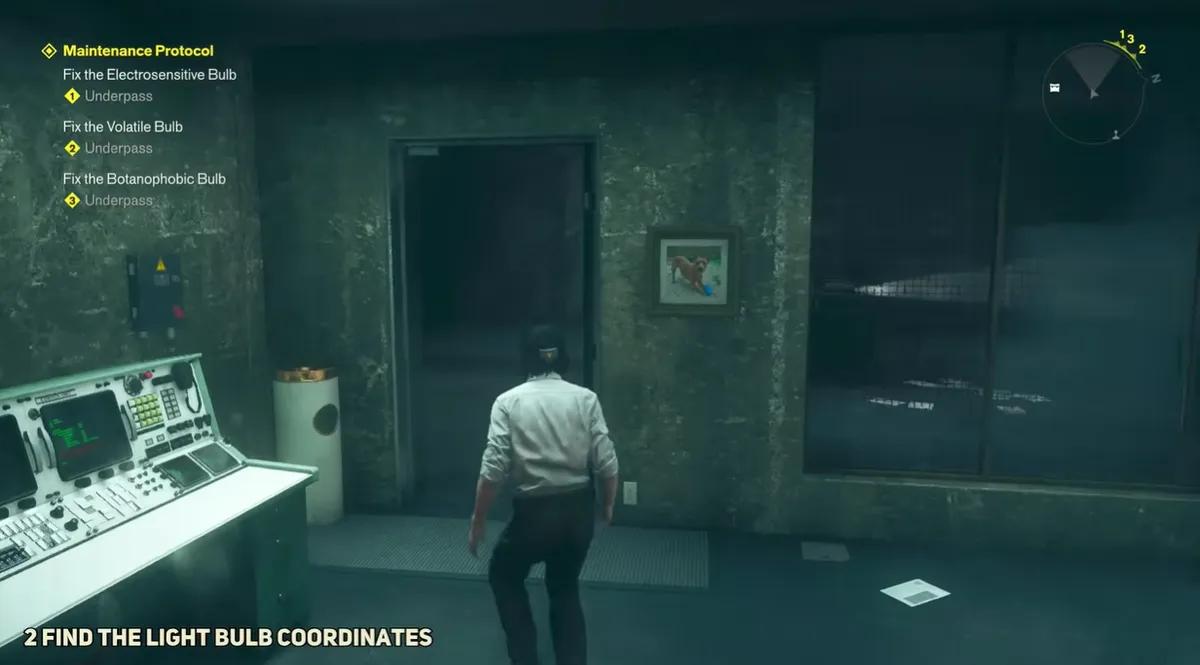
Step into the adjacent switchboard room to reveal where the three bulbs currently are. This updates the log with the Volatile, Botanophobic and Electrosensitive objectives, which can be done in any order.
Bulb | Location | What to do first |
|---|---|---|
Volatile | Red-tile platform near Halfway Trail | Use the calming dialogue, then clear an enemy wave |
Botanophobic | Mold-overgrown chamber | Destroy all mold and fungal growth |
Electrosensitive | Research site | Throw all three battery generators off the ledge |
Each bulb refuses the tighten prompt until its own condition is met, so the order you pick is purely about travel time.
The design logic is consistent across all three. Every bulb has an anxiety, the room around it contains the thing it is anxious about, and clearing that thing is what makes it hold still. If you walk up to one and get no prompt at all, the answer is always something left in the room rather than a missing item or a sequence you skipped.
How to Fix the Volatile Bulb

Open the Underpass map and fast-travel to Halfway Trail, then follow the waypoint to the Volatile Bulb, which hangs over a set of red hazard tiles.
Talk to the bulb and pick the reassuring lines: Time to be tightened, You seem stressed, and It's okay, you're okay. A wave of corrupted enemies spawns while this is happening, which is the bulb's anxiety made literal.
Clear the wave, then speak to it again with the second set of lines: Stop worrying, Stay still, and You deserve to be fixed. The interact prompt becomes available, so twist it three times.
How to Fix the Botanophobic Bulb

Head to the Botanophobic Bulb's marker and climb the shifting concrete structures to reach the mold-overgrown chamber.
This bulb is afraid of plants, and it will not settle while any are near it. Destroy the explosive spores and every piece of fungal growth around it, using weapons or thrown attacks. Once the area is completely clear, twist the bulb three times.
How to Fix the Electrosensitive Bulb

Cross the geometric platforms toward the research site holding the Electrosensitive Bulb.
This one objects to energy sources. There are three red portable battery generators near the room. Pick up each one and hurl it over the ledge into the abyss.
With every electrical source gone, approach the bulb and twist it three times to finish the ritual.
Spoiler warning. The section below covers the quest's finale, which is unlike anything else in the game. Skip it if you would rather see it cold.
Fix the Final Bulb and Escape the Slide

Take the overhead cable car and retrace the Underpass pipes back to the projector room.
The maintenance worker reappears on screen and explains that the last bulb is caught inside the projected slide itself, then invites you to touch the projection. Approach and interact with it.
Dylan is pulled into the slide and becomes a flat, black-and-white cartoon. Work through the dialogue prompts, including the Board's cryptic inverted-triangle messages, until Break the bulb becomes available as an option.

Choose Break the bulb. Dylan produces a crowbar and crushes the unstable cartoon bulb, the projection falls apart, and he lands back in the three-dimensional room.
It is worth noting that the finale inverts the entire premise. Three bulbs were settled by being careful with them, talked down, cleared of what frightened them and gently turned three times. The fourth is dealt with by taking a crowbar to it, and the game does not comment on the difference.
Maintenance Protocol Rewards

You will know it worked when the Quest Completed banner appears and the Standard Issue Coverall outfit lands in your inventory. The Quest Log entry moves to your completed list.
The Coverall is a cosmetic, so it goes straight into the Wardrobe rather than affecting anything mechanically.
Common Mistakes
Entering the Morse code as dash-dot-dot. It is dot, dot, dash. Two short, one long.
Trying to tighten a bulb before clearing its condition. The prompt simply will not appear. If nothing happens when you approach, something in the room is still bothering it.
Leaving one fungal growth alive at the Botanophobic Bulb. The check is for all of them, including the explosive spores.
Dropping the battery generators near the ledge instead of over it. They have to go into the abyss, not onto the floor beside it.
What to Do Next
Zoe's briefing unlocks this alongside Control Resonant New Growth Walkthrough, which is the larger of the two and runs across The Park and into a sewer lab.
If you are working through the Underpass anyway, Control Resonant Notes: Every Dog Has Her Day Walkthrough has one of its seven dogs down here, and it is the trickiest of the set to reach.


 Başarıyla kopyalandı... İçeriğimizi paylaştığınız için teşekkür ederiz!:



100 mücevhere kadar %5 para yatırma bonusu

Para yatırma ve çekme işlemlerinde %0 ücret.





11 Para Yatırma Bonusu + FreeSpin


EKSTRA %10 PARA YATIRMA BONUSU + ÜCRETSIZ 2 ÇARK DÖNDÜRME

Ücretsiz Kasa ve %100 Hoş Geldin Bonusu


5 Ücretsiz Kılıf, Günlük Ücretsiz ve Bonus

3 ücretsiz kasa ve tüm nakit para yatırma işlemlerine %5 bonus eklenir.

Depozitoya +%5




Yorum